Few things are more irritating than pressing the eject button on your CD or DVD drive and hearing a faint whir—but the tray refuses to slide out. Whether you need to retrieve a work disc, a movie, or an old backup, a stuck optical drive can bring your workflow to a halt.
Before you panic or rush to buy a replacement, know that this issue is usually fixable. The root cause could be a software glitch, a loose cable, a worn rubber belt, or simply a bit of dust. Below, we walk you through the safest and most effective fixes—from the simplest to the more advanced.
1. Force an Eject via Your Operating System
Start with the digital approach. In Windows, open File Explorer → This PC, right‑click your optical drive icon, and choose Eject. On macOS, right‑click the drive on the desktop or in Finder and select Eject.
If nothing happens, perform a full system restart. Rebooting reloads all device drivers and can clear any temporary lock‑up that prevents the eject command from reaching the drive hardware. After the restart, try the software eject again before opening any other programs—this often resolves the problem instantly.
2. Use the Emergency Manual Eject Pin Hole
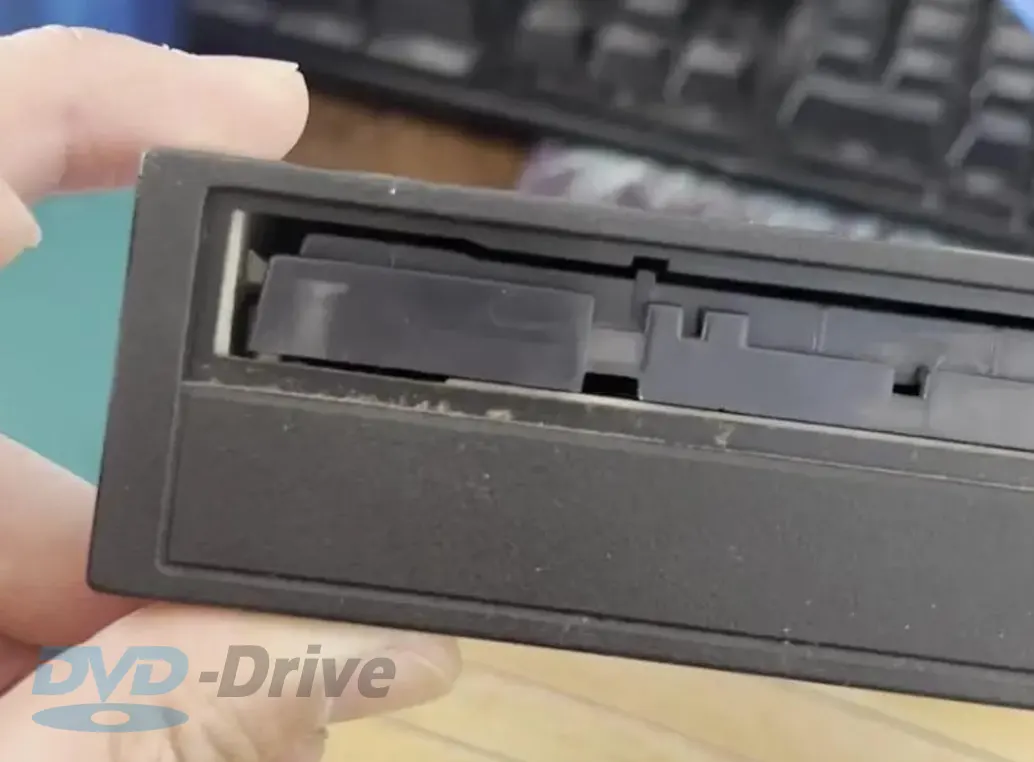
Almost every desktop optical drive includes a tiny pinhole on the front panel, usually near the eject button. This is a mechanical override designed for exactly this situation.
How to do it safely: Shut down your computer completely. Straighten a standard paper clip, then gently insert it into the hole. Push slowly until you feel light resistance, then apply steady, gentle pressure. You should feel the tray nudge outward a few millimeters. Once it does, carefully pull the tray open by hand and remove your disc.
⚠️ Caution: Do not jab or force the clip—excessive pressure can bend the internal release lever or damage the gear mechanism. If it doesn't pop out after a few tries, move to the next step.
3. Verify Power and Data Connections (For Internal Drives)
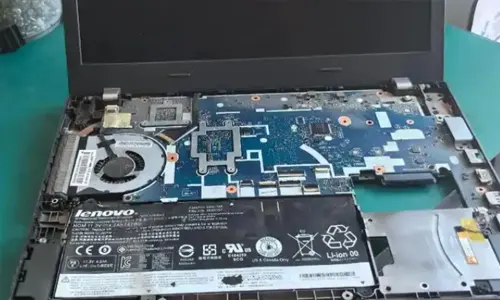
If the emergency hole didn't help, the drive might not be receiving enough power or a proper data signal. For internal SATA drives, turn off your PC, unplug the power cord, and open the case. Locate the drive and check both the SATA data cable and the power connector.
Disconnect each cable, inspect for bent pins or dirt, then firmly reconnect them. A loose connection can cause the motor to spin weakly or not at all, preventing the tray from unlocking. For external USB drives, try a different USB port or a powered hub to rule out insufficient power delivery.
4. Inspect and Replace the Drive Belt (Common Culprit)
Many optical drives use a small rubber belt to transfer rotational force from the motor to the tray's loading mechanism. Over time, this belt can stretch, become slick, or even snap. When that happens, the motor runs but the tray stays put.
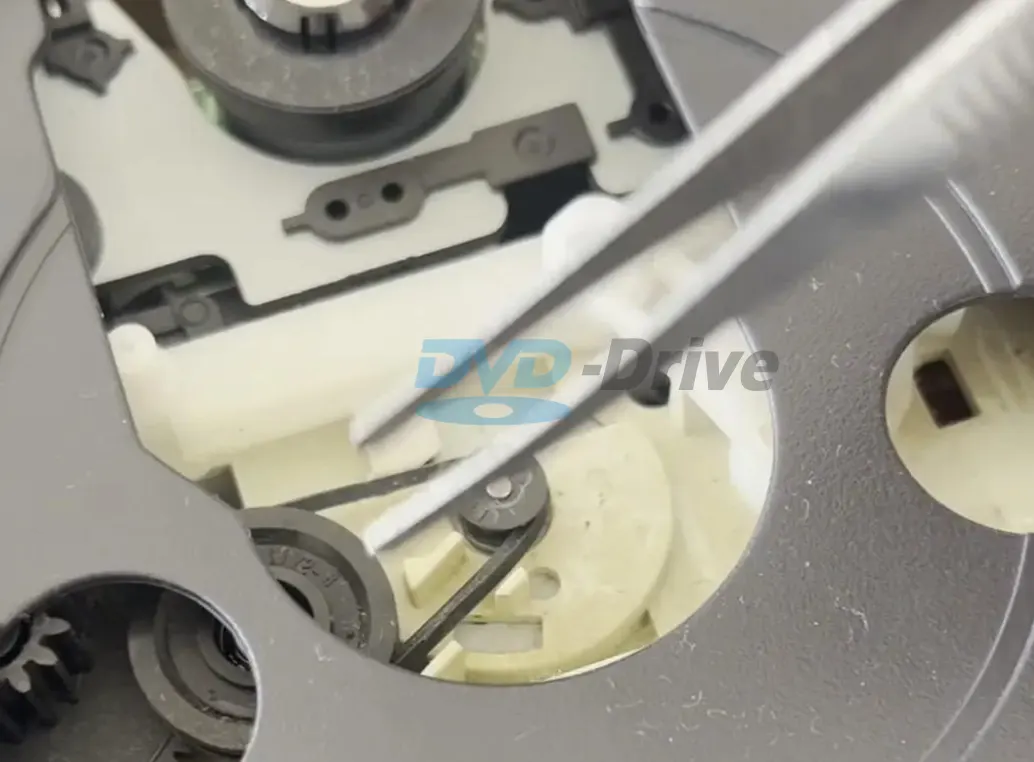
If you're comfortable opening the drive (and it's out of warranty), you can carefully remove the top cover and locate the belt. Clean it with isopropyl alcohol to restore grip, or replace it with a compatible belt (often sold in electronics repair kits). This is a cost‑effective repair that can extend the drive's life significantly.
5. Clean the Tray Track and Lubricate
Dust and debris can accumulate on the plastic rails that guide the tray. After powering off and unplugging the drive, use a can of compressed air to blow out any visible dirt. You can also apply a tiny amount of silicone-based lubricant (never oil‑based) to the rails to reduce friction.
Pro tip: Use a thin plastic spudger or an old credit card to gently sweep along the tray's edges—this can dislodge a particle that might be blocking the mechanism. Avoid metal tools that could scratch the surface or damage delicate components.
6. Update or Reinstall Optical Drive Drivers
Sometimes the issue is purely software‑related. Outdated or corrupt drivers can miscommunicate with the eject function. Open Device Manager (Windows), expand DVD/CD-ROM drives, right‑click your drive, and select Uninstall device. Restart your computer—Windows will automatically reinstall the default driver. This often clears any driver‑level hang‑ups.
For external drives, check the manufacturer's website for the latest firmware updates. Firmware patches sometimes address eject logic and compatibility with newer operating systems.
7. When All Else Fails—Disassemble or Replace
If your disc holds mission‑critical data and none of the above works, you may need to disassemble the drive entirely. This is a last‑resort option for experienced users. After removing the drive from the computer, take off the metal casing (usually with small screws) and manually rotate the gears to release the tray. Be aware that this voids any warranty and risks permanent damage.
For most users, a more sensible route is to replace the old drive with a modern USB external DVD/CD drive. These are affordable, plug‑and‑play, and work with laptops and desktops alike—no more internal mounting hassles. They also often include improved error‑handling and quieter operation.
Preventive Maintenance for Your Optical Drive
An ounce of prevention is worth a pound of cure. Keep your drive area clean—use a soft brush or compressed air every few months to remove dust that can settle on the tray edges. Avoid slamming the tray shut; always press the eject button to close it gently.
It's also a good habit to remove discs when the drive isn't in active use for long periods. Leaving a disc inside can attract dust and put constant tension on the clamping mechanism, increasing the chance of a jam over time.
Final Verdict: Is It Time to Upgrade?
A stubborn tray doesn't always mean the end of your drive. Start with the software eject, try the manual pin, check cables and the belt, and clean the track—these steps solve the vast majority of cases. If the motor is dead or the gears are stripped, however, repair costs can quickly exceed the price of a new external drive.
Given that internal optical drives are becoming less essential, switching to a portable USB external drive gives you the flexibility to use it across multiple devices, and it eliminates the need to open your PC case for troubleshooting. Whichever path you choose, this guide should help you retrieve your disc and get back to work with minimal downtime.