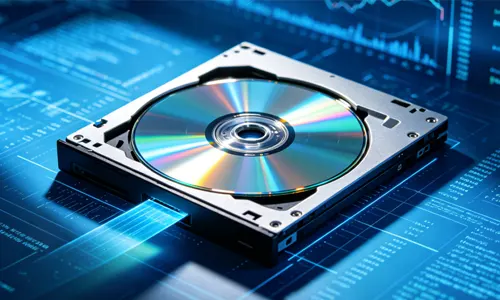
Does your desktop’s DVD drive no longer read discs or make strange noises? It might be time to replace internal DVD drive in desktop. While many modern desktops still include a 5.25-inch bay for optical drives, these components can fail after years of use. Fortunately, learning how to replace internal DVD drive in desktop is straightforward and requires only basic tools. In this guide, we’ll walk you through every step to successfully replace internal DVD drive in desktop — even if you’ve never opened a PC before.
Why You Might Need to Replace Internal DVD Drive in Desktop
There are several reasons to replace internal DVD drive in desktop: constant read errors, the drive not opening, or slow performance. A new internal drive restores the ability to install software from discs, play DVDs, or burn backups. When you replace internal DVD drive in desktop, you also get faster read/write speeds and better compatibility with modern media. Don't settle for an external USB drive if your desktop has an empty bay — it's cheaper and cleaner to replace internal DVD drive in desktop with a standard SATA model.
What You’ll Need Before You Replace Internal DVD Drive in Desktop
- A new SATA internal DVD drive (DVD-RW or Blu-ray combo)
- Phillips-head screwdriver (usually #2)
- Anti-static wrist strap (optional but recommended)
- Your desktop’s user manual (to locate the drive bay)
- Small container for screws
Once you have these items, you're ready to replace internal DVD drive in desktop. Most standard desktop cases use the same mounting mechanism, so the process is very similar across brands.
Step-by-Step: How to Replace Internal DVD Drive in Desktop
Step 1: Power Down and Unplug Your Desktop
Before you attempt to replace internal DVD drive in desktop, shut down your PC completely and disconnect all cables (power cord, monitor, USB devices). Press the power button for 5 seconds to discharge residual electricity. This safety step ensures you can safely replace internal DVD drive in desktop without risk of electric shock or short circuits.
Step 2: Open the Computer Case
Most desktop cases have two side panels secured by screws at the rear. Remove the left side panel (when facing the front of the case) to access the internal components. Now you can see the existing DVD drive. To replace internal DVD drive in desktop, you need to locate the 5.25-inch drive bay — typically at the top front of the case.
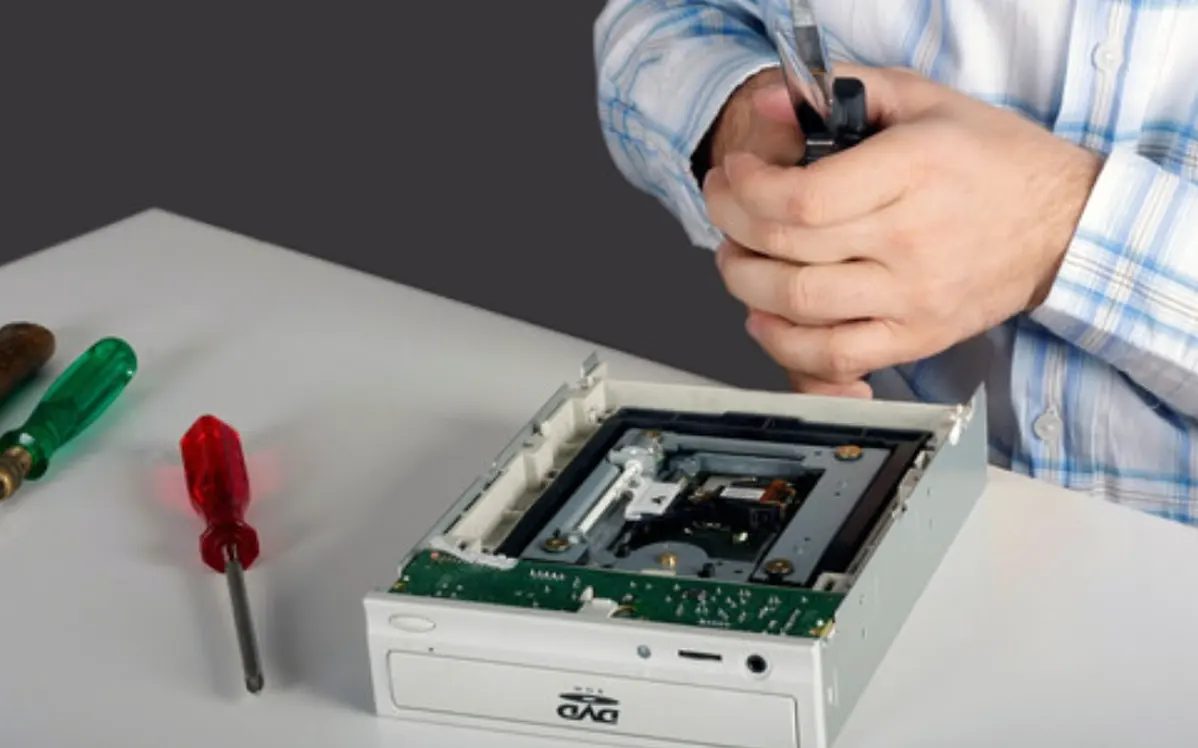
Step 3: Remove the Old DVD Drive
Disconnect the SATA data cable and the SATA power cable from the back of the old drive. Note their orientation for later. Then unscrew the mounting screws (usually two or four) that hold the drive in the bay. Slide the old drive out from the front of the case. Now that the old unit is removed, you can replace internal DVD drive in desktop by inserting the new one.
Step 4: Install the New Internal DVD Drive
Slide the new drive into the same bay, aligning it with the front bezel. Push until it’s flush with the case front. Then secure it with the same screws you removed. Connect the SATA data cable (to the motherboard) and the SATA power cable (from the power supply) to the back of the new drive. Double-check connections — this is the most critical part when you replace internal DVD drive in desktop.
Step 5: Close the Case and Test
Replace the side panel and screw it back. Reconnect all cables and power on your desktop. The operating system should automatically detect the new drive. Insert a DVD to verify it works. Congratulations — you’ve successfully learned to replace internal DVD drive in desktop!
Common Mistakes When You Replace Internal DVD Drive in Desktop
Even simple upgrades can go wrong. Avoid these pitfalls when you replace internal DVD drive in desktop:
- Forcing the drive: If it doesn't slide easily, check for bent metal tabs.
- Loose cables: Make sure SATA connectors click into place.
- Wrong drive height: Standard desktop drives are 5.25-inch; avoid slim laptop drives.
- Skipping the BIOS check: If the drive isn't recognized, enter BIOS to see if it appears.
Taking your time to replace internal DVD drive in desktop properly will ensure years of reliable use.
Where to Find a Quality Replacement Drive
When you decide to replace internal DVD drive in desktop, choose a reliable brand like LG, ASUS, or Pioneer. Our online store offers a wide selection of internal SATA DVD drives compatible with all major desktop brands. Every drive we sell is tested for performance and durability. So if you need to replace internal DVD drive in desktop today, browse our collection and get same‑day shipping. Still unsure which model fits your case? Contact our support — we’ll help you replace internal DVD drive in desktop with the right part.
Final tip: Once you replace internal DVD drive in desktop, keep the old drive for spare parts (like the front bezel or screws) or recycle it properly. Now you can enjoy a fully functional optical drive again without paying for expensive repairs.